

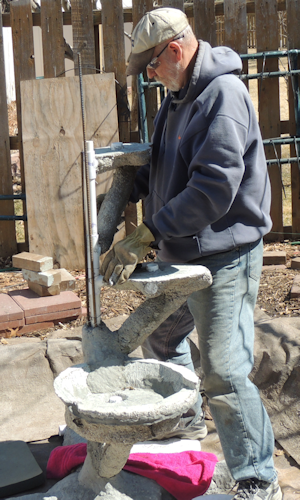
This simple piece forms the main guts of the fountain. During this early stage of the construction, concrete will be added where the chicken wire is showing. If you look carefully, you can see a green outline on the styrofoam. It shows the limit of where the concrete will go. This will form a platform for a concrete bowl that will be constructed to hold the water. Shown here is the way it will be completed when concrete is added but it is a little bit confusing to describe how it will be used.


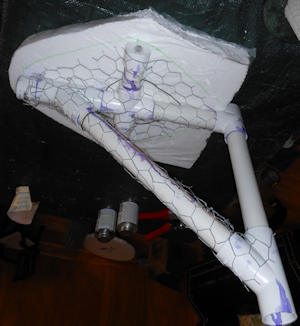
Same picture rotated to show how it will be installed. The water will come up the tube from the bottom and flow through both the diagonal and perpendicular pipes. The cross piece in the middle is actually a five-way connector so water will flow out of the top of that for the fountain effect. The cross arms are just to add horizontal stability. Five of these pieces will be constructed and stacked on to one another to form the fountain.

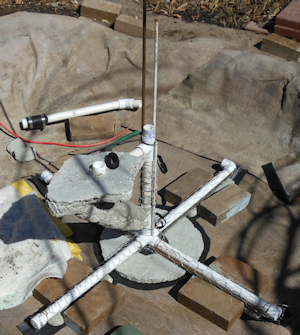
This is the base. It also has a five-way connector where the arms supply the stability. It also shows how the pump will be installed to supply the water. The upper-left corner of the picture shows one of the pieces with the first batch of concrete applied.
This shows how the base will be in the pit. One of the platform pieces has been added and you can also see how rebar will be added to make sure everything is attached vertically. More rebar will be added as more platforms are in place.
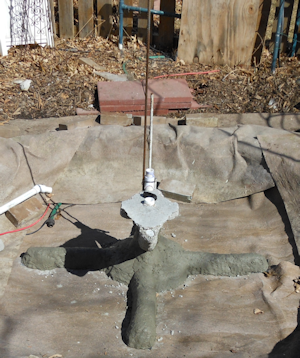
Concrete aded to the base and allowed to cure before adding more levels.
This shows a skilled craftsman adding more pieces. You can see one of the bowls attached as well as the next fountain layer. The bowl is recessed on the bottom so it can set on the platform. This process had to be done over several days to allow the concrete to cure at each step. This insures that the weight of the platform doesn't deform the vertical stability. I'm wiring in more rebar here.
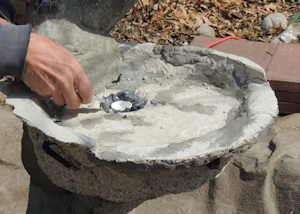
I'm adding some sealer to the bowl where the water comes up to keep it from leaking out the bottom.
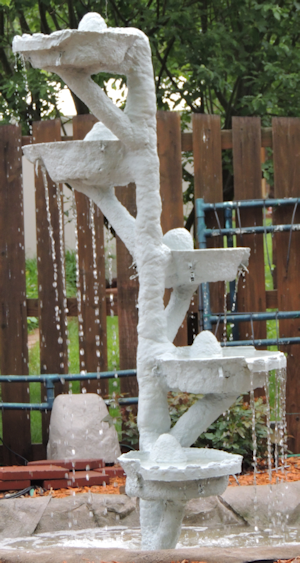
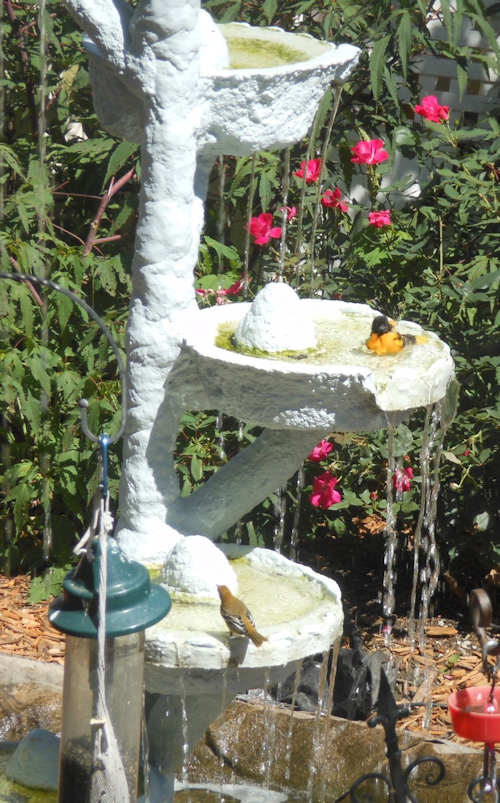
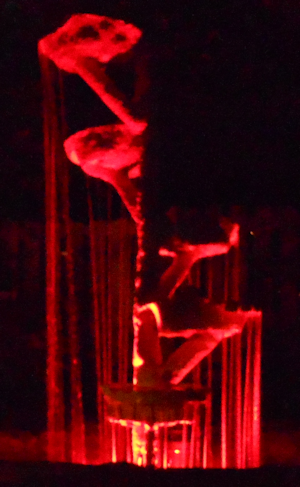
Here are all five layers showing it is actually running the way I wanted it to look.There is another thing showing here and one that isn't visible. I had to add a concrete cap where the water came up into the bowl or the water would shoot up and splash out. There is a plastic drinking cup inside the cap to prevent erosion. The part that doesn't show is that there is a plastic PVC cap attached to the PVC with a hole drilled through it. Without these caps with holes, more water would come out of the bottom layers than the top due to water pressure and other forces. I suppose I could have calulated the size of the hole like they do for center pivot irrigation systems, but instead, I just got it to work out by trial and error, drilling smaller holes in the bottom and larger holes on the top.
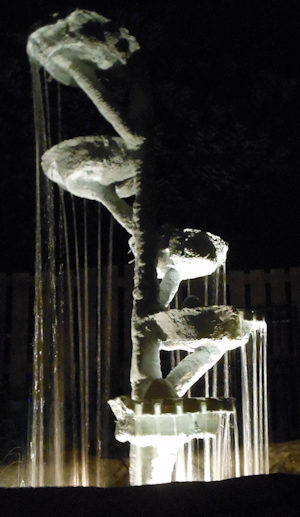
When it was all tweaked and lighted the way I wanted, it looked great at night. This is the view from the street and sidewalk next to our home.
Add a little more color to it.
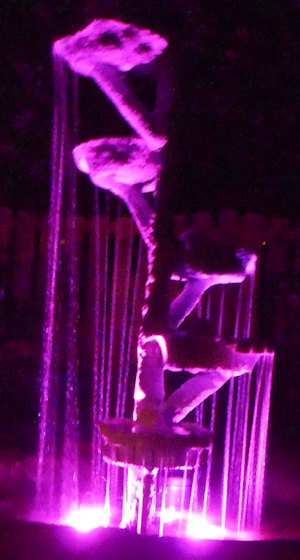
The lights would alternate between white, red, blue, green and purple. Looked pretty cool at night.
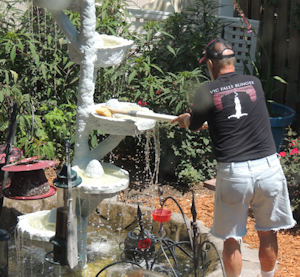
There were two problems with this fountain that prevented it from being a keeper. For one, it was a horrible job to keep clean. I had to scrub it weekly.
The second was that it took a lot of adjustments to get all the flow to cascade the way I wanted. This meant adding extra paste in areas to either prevent or divert flow. I never found a totally waterproof paste, so over time, it would gradually erode away and I would have to reapply and repaint it.
